Drywall, also known as gypsum board or sheetrock, has become a cornerstone in modern construction due to its speed, versatility, and clean finish. Whether you’re working on a home renovation, office build-out, or a new construction, knowing the proper drywall installation process is essential for achieving professional results.
In this complete guide, we break down every step you need to follow for a high-quality drywall installation.
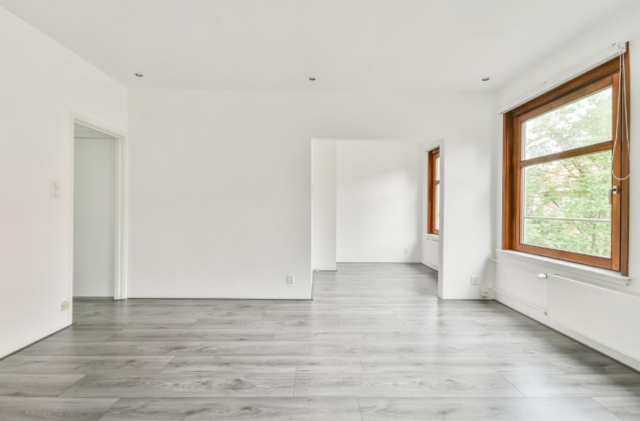
🧰 Step 1: Planning & Measuring
Before anything else, detailed planning is crucial.
- Measure the wall or ceiling area accurately.
- Calculate how many drywall sheets and metal studs you’ll need.
- Plan for openings like doors, windows, and electrical boxes.
✅ Pro Tip: Always order 10-15% extra material to account for waste or errors.
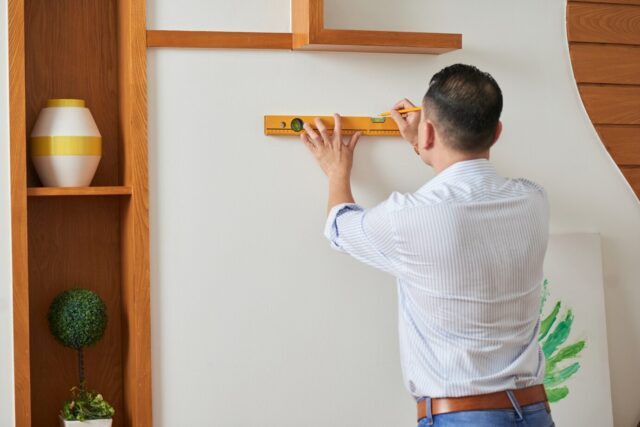
🔧 Step 2: Installing the Metal Framing
Drywall is mounted on a structure made of metal studs and tracks.
- Secure the tracks on the floor and ceiling using anchors.
- Place vertical studs every 16″ or 24″ on center.
- Make sure the structure is level and square.
✅ Tools Needed: drill, laser level, tin snips, and drywall screws.
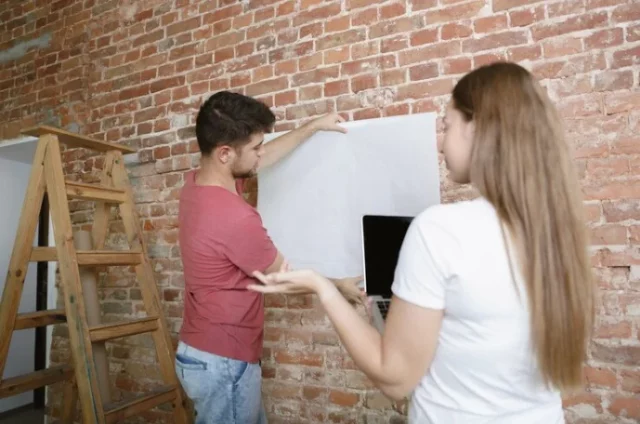
📐 Step 3: Mounting the Drywall Sheets
Once the framework is ready:
- Start from one corner and install sheets horizontally or vertically.
- Use drywall screws every 12” along the studs.
- Leave a 1/8” gap between panels to allow for expansion.
✅ Avoid placing joints directly over door or window corners — this can cause future cracking.
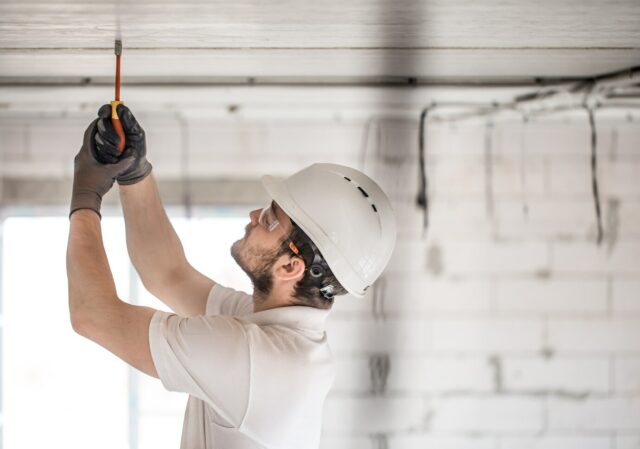
⚙️ Step 4: Electrical & Plumbing Adjustments
Before closing both sides of the wall:
- Install conduits, switch boxes, and plumbing pipes.
- Use moisture-resistant drywall (green board) for wet areas like kitchens and bathrooms.
✅ Safety Tip: Hire a licensed electrician or plumber for specialized work.
🎨 Step 5: Taping, Mudding, and Sanding
This is where the finish takes shape.
- Apply joint tape over seams.
- Cover with joint compound (mud), applying in thin, even layers.
- Let dry, then sand lightly between coats (usually 2–3 coats needed).
✅ Final Finish: Use a sanding sponge or pole sander for ultra-smooth surfaces.
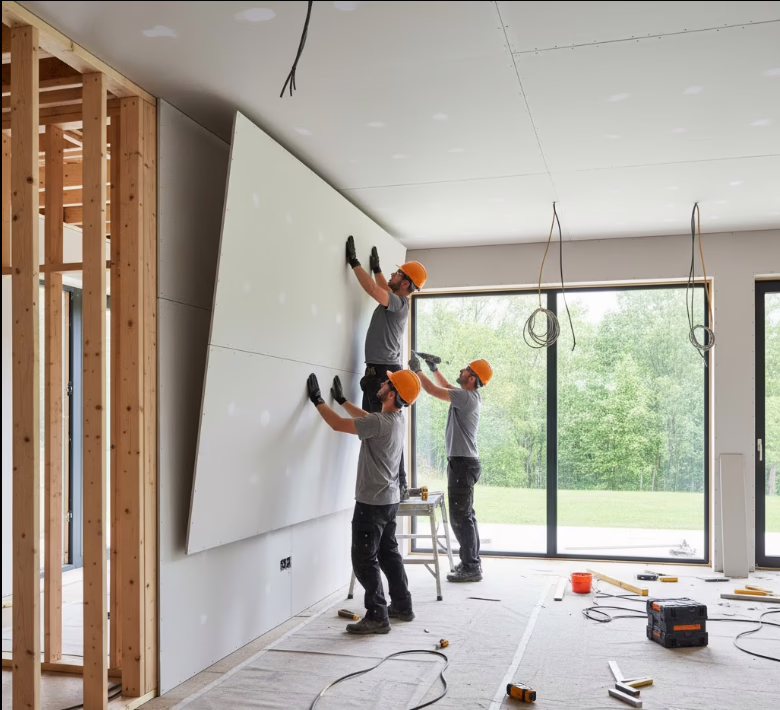
🖼️ Suggested AI-Generated Image:
(Alt text: drywall installation process in a modern residential interior)
Conclusion
Installing drywall is more than just attaching sheets to a wall. It’s a step-by-step process that requires precision, proper materials, and craftsmanship. Whether you’re a DIYer or a contractor, following this guide ensures your walls are solid, clean, and ready for painting or decorating.
At HD Drywall, our expert technicians guarantee professional drywall installation — on time and on budget.
Frequently Asked Questions
1. How much does drywall installation cost per square foot?
On average, between $2.00 to $3.50 per sq. ft., depending on materials and project complexity.
2. Can I install drywall by myself?
Yes, for small projects. However, larger walls or ceilings require a team and specialized tools.
3. Do I need to prime drywall before painting?
Absolutely. Use a drywall primer to seal the surface and prevent uneven paint absorption.
4. How long does drywall installation take?
A standard room can be completed in 2 to 5 days, including finishing and drying time.
Looking for reliable drywall professionals near you?
👉 Contact us at HD Drywall today for top-quality service and expert installation. 🛠️How to Install Drywall Step by Step