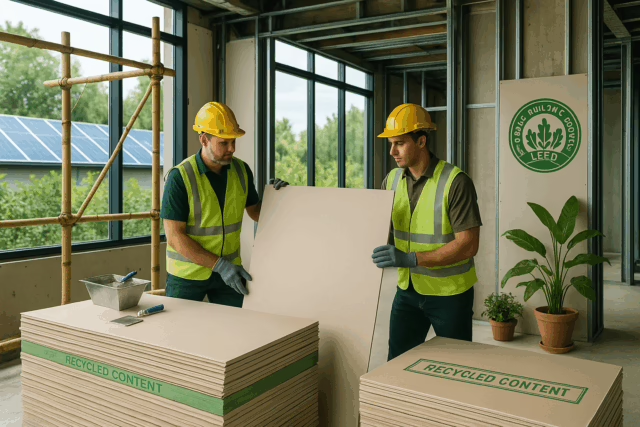
Is your drywall looking a little worse for wear? Don’t worry, we’ve got you covered. Whether you’re dealing with small dents or large holes, these effective drywall repair techniques will restore your walls to their former glory.
1. Assess the Damage
Before you start, take a close look at the damage. Is it a small dent or a large hole? Different types of damage require different repair techniques, so this step is crucial.
2. Gather Your Supplies
You’ll need a few basic tools and materials for drywall repair: a utility knife, drywall saw, joint compound, drywall tape, sandpaper, and a drywall patch for larger holes. Having everything ready will make the process smoother and more efficient.
3. Small Dents and Dings
For minor dents and dings, start by cleaning the area. Use a putty knife to apply a thin layer of joint compound over the dent. Smooth it out and let it dry completely. Once dry, sand it smooth with fine-grit sandpaper. Then, apply a second coat if necessary. After sanding again, prime and paint the area.
4. Repairing Small Holes
Small holes, like those from nails, are easy to fix. First, clean the area and apply a small amount of joint compound with a putty knife. Next, smooth it out and let it dry. Then, sand it smooth. Apply a second coat if needed, sand again, and finally, prime and paint.
5. Fixing Medium-Sized Holes
For holes up to a few inches in diameter, use a patch. First, clean the hole’s edges with a utility knife. Next, apply a self-adhesive mesh patch over the hole. Then, cover the patch with joint compound, feathering the edges to blend with the wall. Once it’s dry, sand it smooth and apply additional coats as needed. After the final coat is dry, sand it smooth again, prime, and paint.
6. Repairing Large Holes
Large holes require a bit more work. To start, cut a piece of drywall to fit the hole, ensuring it’s slightly larger than the hole itself. Then, place the drywall patch over the hole and trace around it. Next, cut along the traced lines to remove the damaged drywall. Insert the patch into the hole and secure it with drywall screws. Afterward, apply joint compound over the seams and tape, feathering the edges. Let it dry, sand it smooth, and repeat if necessary. Finally, prime and paint the repaired area.
7. Sanding for a Smooth Finish
Regardless of the size of the repair, sanding is crucial for a smooth finish. Use fine-grit sandpaper to gently sand the dried joint compound, removing any bumps or ridges. Be careful not to over-sand, as this can damage the surrounding drywall.
8. Prime and Paint
Once your repair is smooth, it’s time to prime and paint. Priming the area ensures the paint adheres properly and provides a uniform finish. Choose a paint that matches your wall color, and apply it evenly over the repaired area.
9. Prevention Tips
To avoid future drywall damage, consider using doorstops to prevent doorknob holes, and be mindful of heavy furniture that could dent walls. Regular maintenance can help keep your drywall in great condition.
For more tips and professional drywall repair services, visit HD Drywall Services. Learn more about our expertise on our About Us page, or get in touch with us through our Contact page. Don’t forget to follow us on Facebook for the latest updates and tips.


