Designing a studio demands silence, accuracy, and repeatability. Here’s the good news: Recording studios Drywall can deliver remarkable sound isolation and controlled room response when you build it right. With proper layers, spacing, and seals, drywall assemblies block noise, tame resonances, and protect your soundstage.
Below, you’ll learn how to specify Recording studios Drywall, which details matter most, and how to avoid common pitfalls.
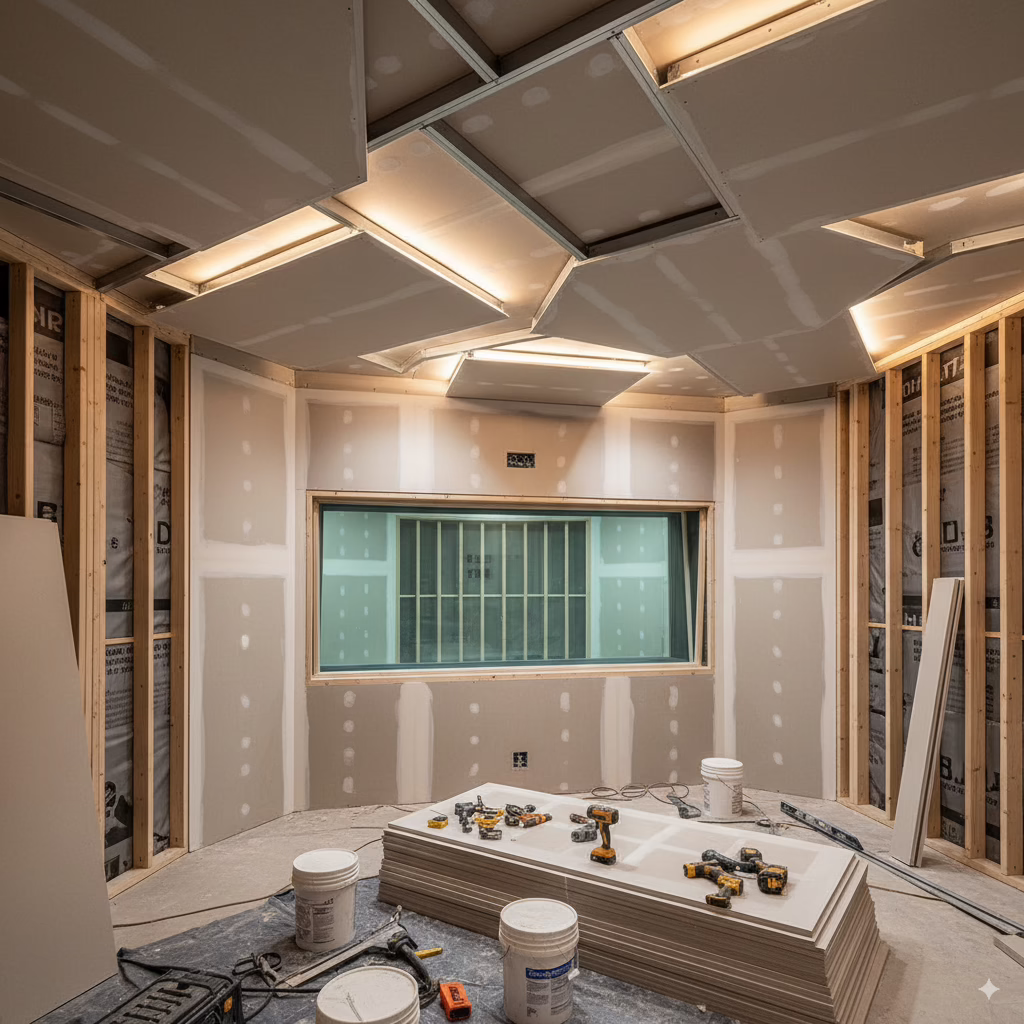
Why use drywall in recording studios?
Drywall provides mass, modularity, and cost control. Just as important, it supports standardized STC assemblies and integrates easily with doors, glazing, and HVAC.
Key advantages of Recording studios Drywall:
- High mass per dollar for airborne sound blocking
- Repeatable UL/ASTM wall types with predictable performance
- Fast finishing to Level 4–5 for a polished look
- Easy integration with resilient channels, clips, and acoustic sealants
Explore high-performance wall options on our Services page.
What STC should you target?
STC 55–65 suits most control rooms and live rooms. Vocal booths may need more. Therefore, select Recording studios Drywall assemblies that combine mass + decoupling + damping to hit the goal without overbuilding.
- STC 50–55: Budget rehearsal or edit suites
- STC 55–60: Control rooms and live rooms near neighbors
- STC 60–65+: Critical spaces or noisy sites
Need guidance? Meet the team behind our studio builds on About Us.
Core principles: mass, decoupling, damping, sealing
1) Mass
Use double 5/8 in Type X each side when possible. More mass yields better airborne isolation. This is the backbone of Recording studios Drywall assemblies.
2) Decoupling
Break vibration bridges. Stagger studs, build double-stud walls, or use resilient channels and isolation clips. Decoupling prevents direct structure-borne transfer.
3) Damping
Apply viscoelastic damping (e.g., between layers) to reduce panel resonance. Damping turns vibration into heat and flattens peaks.
4) Air sealing
Seal every seam, perimeter, and penetration with acoustic, fire-rated sealant. Even small gaps can trash your STC.
Wall assemblies that work
Good: 2×4 single stud, mineral wool in cavity, RC-1 channel, double 5/8 in gypsum one side, single 5/8 in other.
Better: Staggered studs on 2×6 plate, mineral wool, double 5/8 in both sides with damping.
Best: Double-stud wall (1 in air gap), mineral wool both cavities, double 5/8 in both sides with damping.
Because doors and glazing are weak links, choose STC-rated doors and laminated glass to match the wall.
Ceilings and floors: don’t forget the shell
- Ceilings: Hang drywall on isolation clips and hat channel. Add double 5/8 in with damping. Seal perimeters.
- Floors: Where structure allows, consider a floating floor with isolation underlayment.
- Soffits: Frame speaker soffits with dense Recording studios Drywall skins to control baffle wall resonances.
Coordinate this early with mechanical trades. Then you can route ducts without acoustic shortcuts.
Doors, windows, and penetrations
- Doors: Use solid-core or acoustic doors with full perimeter seals and automatic bottoms.
- Windows: Laminated glass with dissimilar thickness panes, decoupled frames, and caulked perimeters.
- Penetrations: Backer boxes for outlets; putty pads on boxes; airtight boots for ducts; grommets for cables.
These details keep Recording studios Drywall assemblies performing at spec.
HVAC: quiet air, quiet room
Oversize ducts, slow the air, and line runs with acoustic duct liner. Isolate air handlers from the shell. Finally, seal all drywall penetrations after commissioning. You will hear the difference.
Follow our project updates on Facebook.
Finishes: how smooth should you go?
Critical-light walls need Level 5. Most studio interiors look great with Level 4. Remember, the drywall is your shell. Treat the interior with absorbers, diffusers, and bass trapping as needed. With Recording studios Drywall built correctly, acoustic treatment can do its job.
Ready to scope your room? Start at HD Drywall or reach out on our Contact page.